DIY: Installing Glass Elements in Your Home Safely and Efficiently


Introduction to DIY Glass Installation
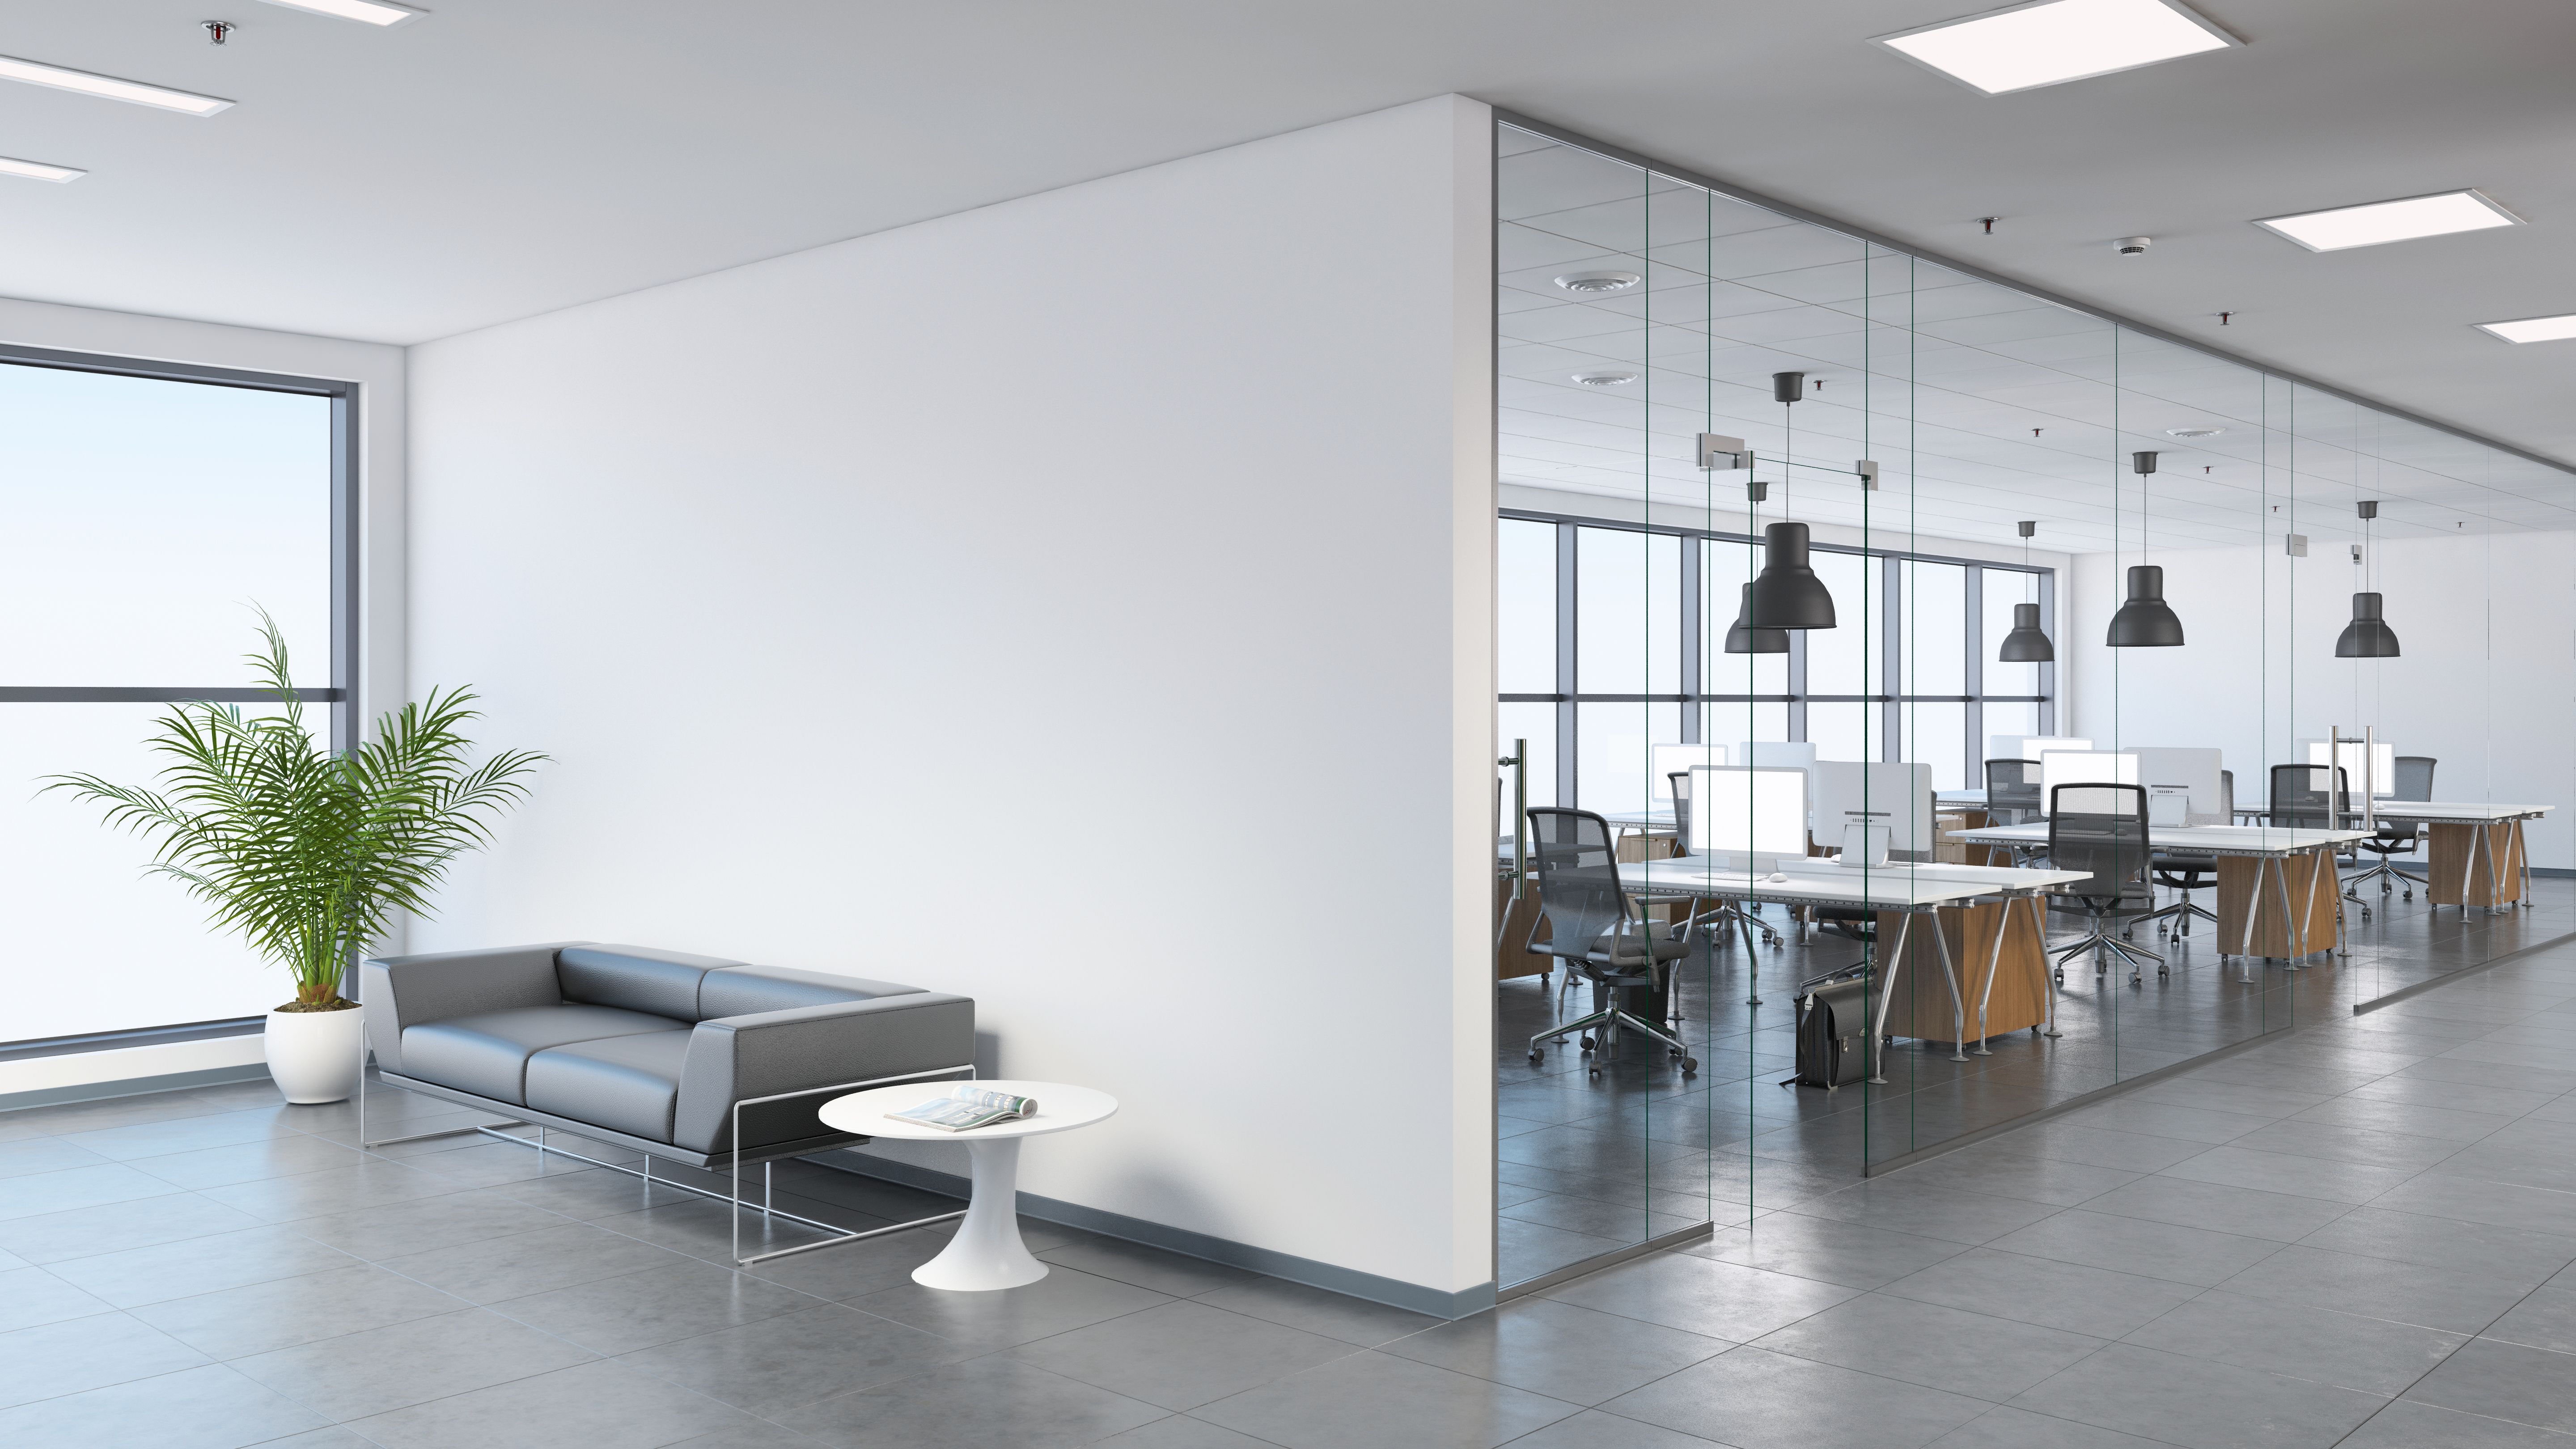
Incorporating glass elements into your home can add a touch of modern elegance and openness. Whether you're considering glass shelves, a new shower door, or decorative glass panels, installing these elements yourself is a rewarding project. However, it requires careful planning and execution to ensure safety and efficiency.
Choosing the Right Glass for Your Project
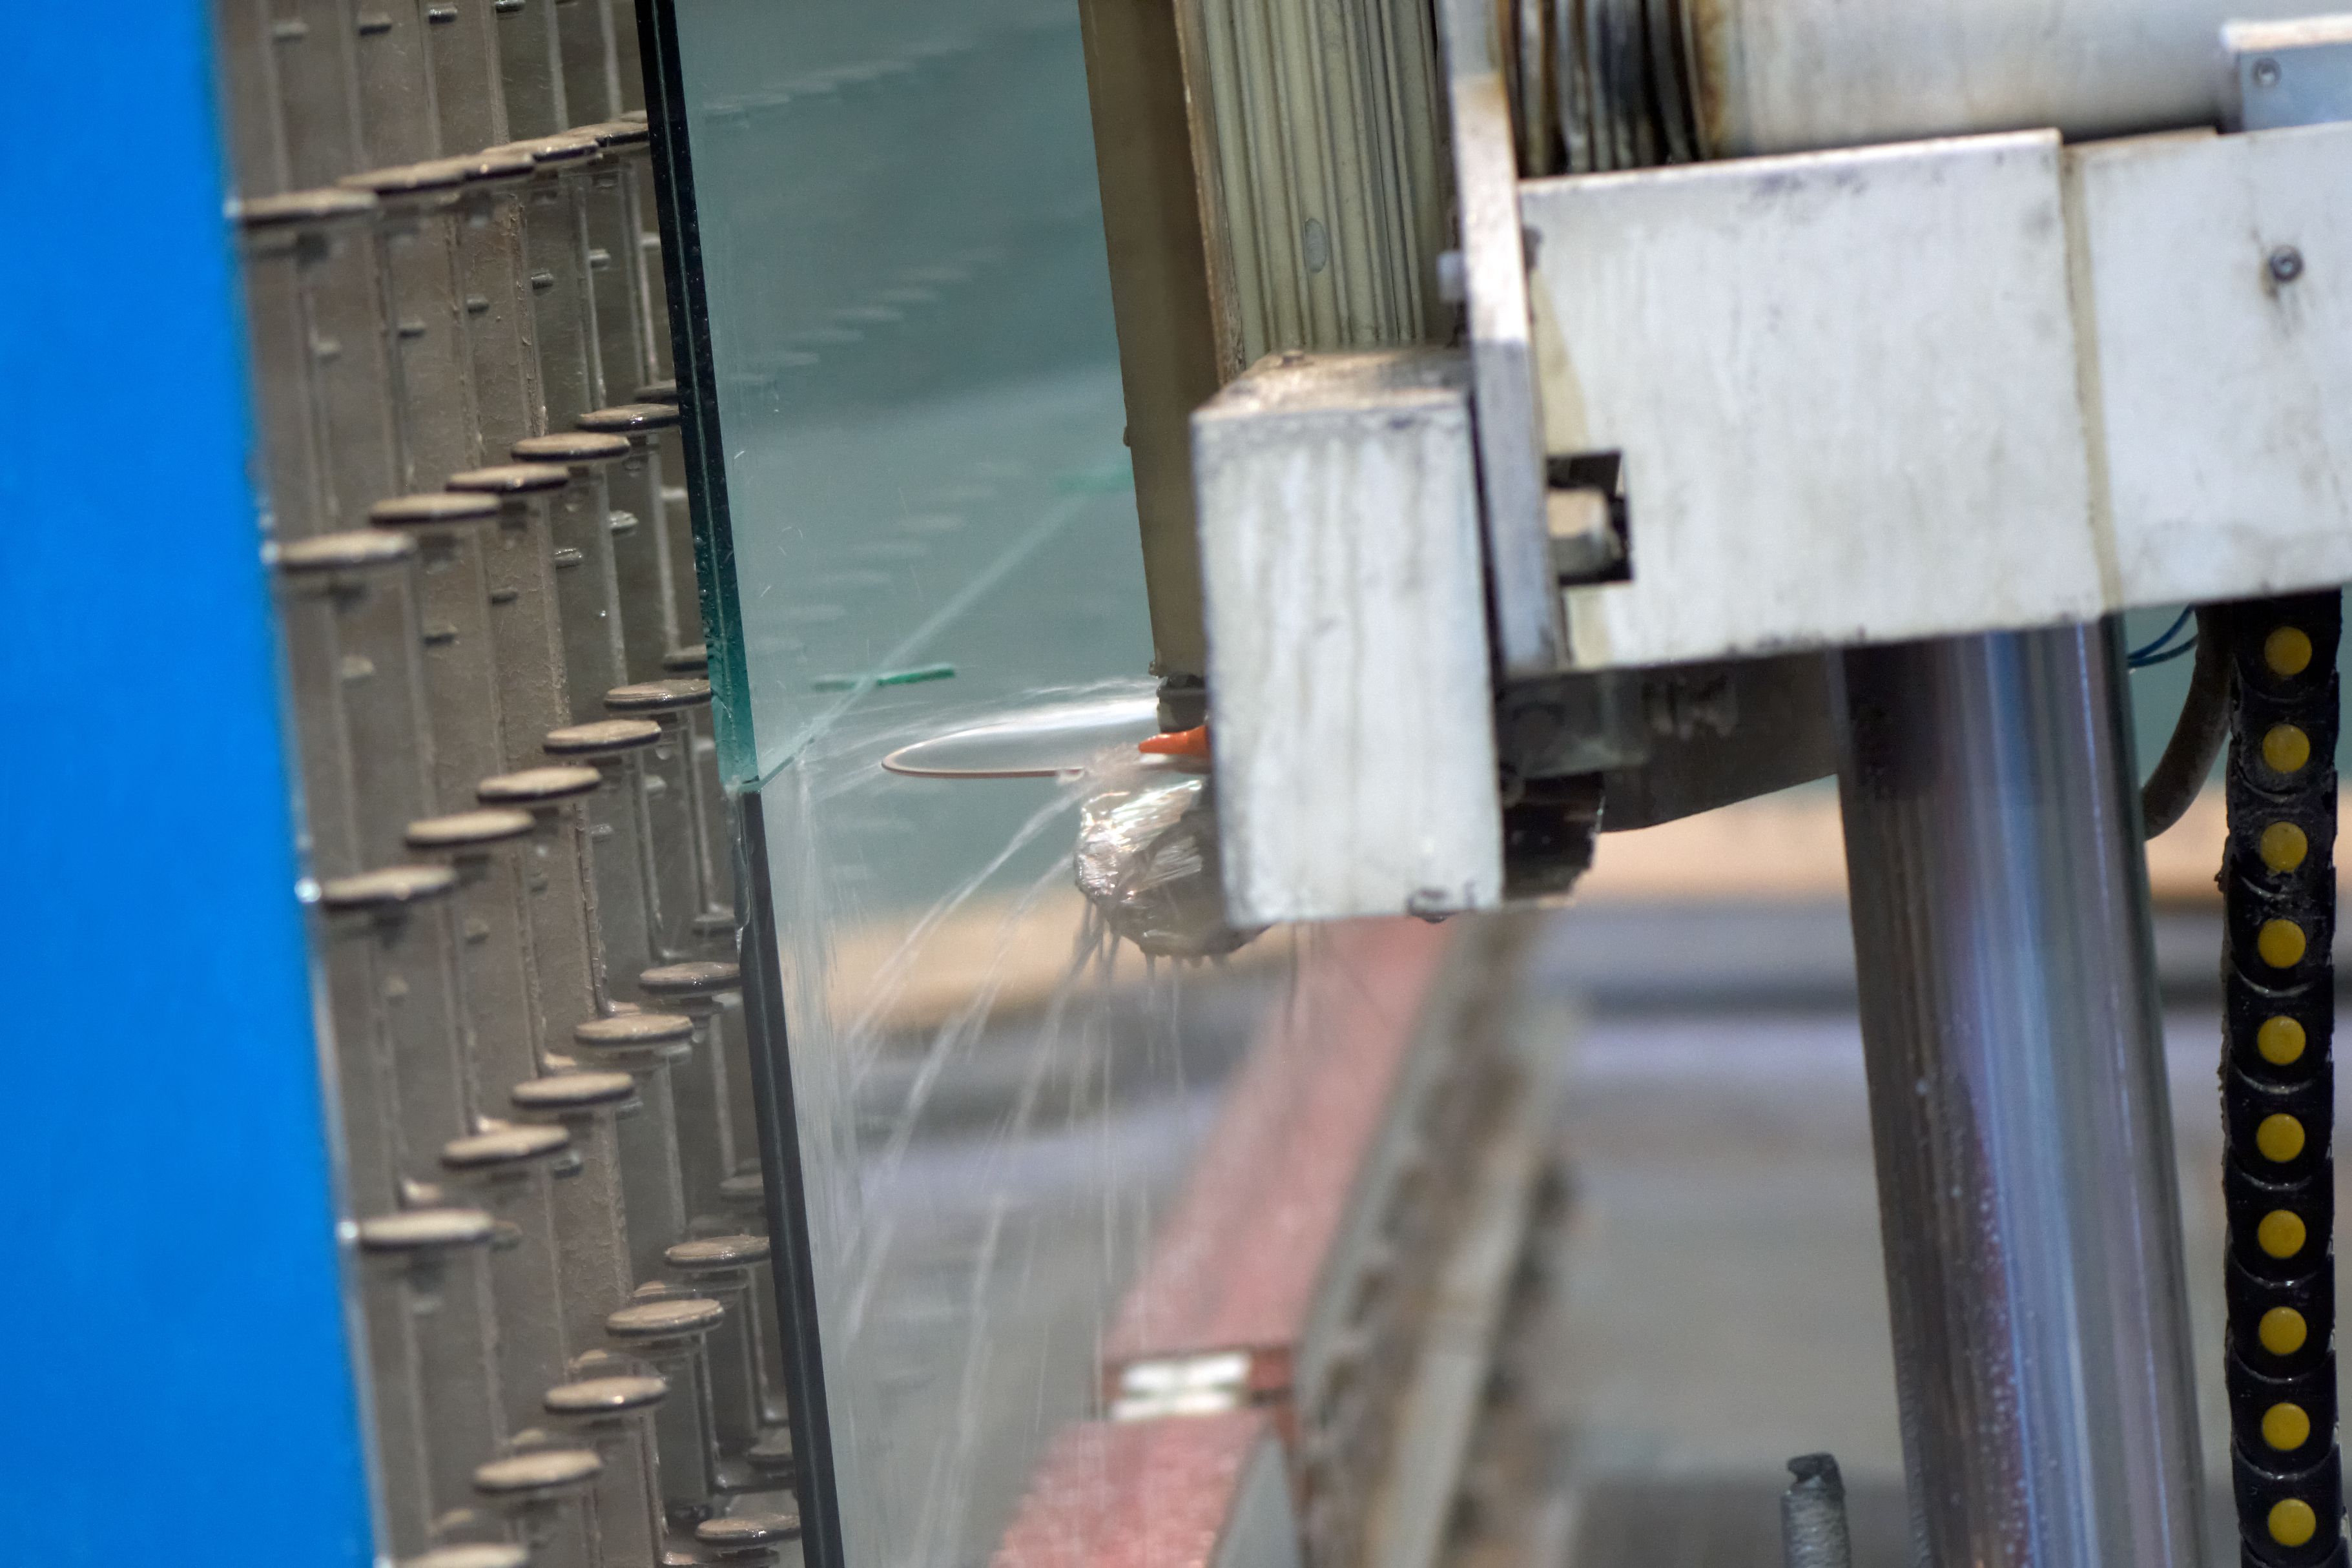
The first step in any glass installation project is selecting the appropriate type of glass. Options include tempered glass for its strength and safety, laminated glass for added security, and frosted or tinted glass for privacy. Consider the location and purpose of the glass element to make the best choice.
When purchasing glass, ensure it comes with polished edges to prevent injury. Additionally, measure the space accurately to avoid any fitting issues later on.
Essential Tools and Safety Equipment
Before you start, gather all necessary tools and safety equipment. You'll need a glass cutter, suction cups, measuring tape, a level, and a drill with glass bits. Safety gear is crucial; always wear gloves, safety goggles, and protective clothing to guard against sharp edges and glass shards.
Preparing the Installation Area
Clear the area where you'll be installing the glass. Remove any furniture or obstacles to ensure you have ample space to work. Clean the surface where the glass will be installed to ensure a secure fit. This step is especially important for installations like glass tiles or splashbacks.
Mark the positions carefully using a pencil or marker, ensuring alignment and balance. Use a level to double-check that everything is straight, as even minor misalignments can affect the final look.
Installing Glass Shelves
When installing glass shelves, start by marking the bracket positions on the wall. Drill holes for the brackets using a drill with a suitable bit for your wall type. Fix the brackets securely and then gently place the glass shelf on top. Use suction cups to handle the glass safely.
Ensure the shelf is level before securing it in place. Check for stability by applying slight pressure on different parts of the shelf. This ensures that it can hold weight without wobbling.
Securing Glass Partitions and Panels
For larger installations like shower doors or room partitions, it's crucial to have assistance due to the size and weight of the glass. Position the panel in place using suction cups, and make sure it aligns with any pre-drilled holes or brackets.
Secure the panel using appropriate fasteners or clips, following manufacturer instructions closely. Double-check that all fittings are tight and secure to prevent movement or slipping over time.
Final Tips for a Successful Installation
Patience and precision are key in any DIY project involving glass. Rushing can lead to mistakes or even accidents. If you're unsure at any point, consider consulting a professional.
Regularly check your installed glass elements for any signs of wear or damage. Proper maintenance ensures longevity and safety in your home.
Conclusion
Installing glass elements in your home yourself can be a fulfilling experience, adding beauty and functionality to your space. By choosing the right materials, using the correct tools, and prioritizing safety, you can achieve a professional finish that enhances your home’s interior.
Remember, every successful DIY project starts with thorough planning and preparation—happy installing!