DIY Tips for Installing Glass Balconies: What You Need to Know


Understanding the Basics
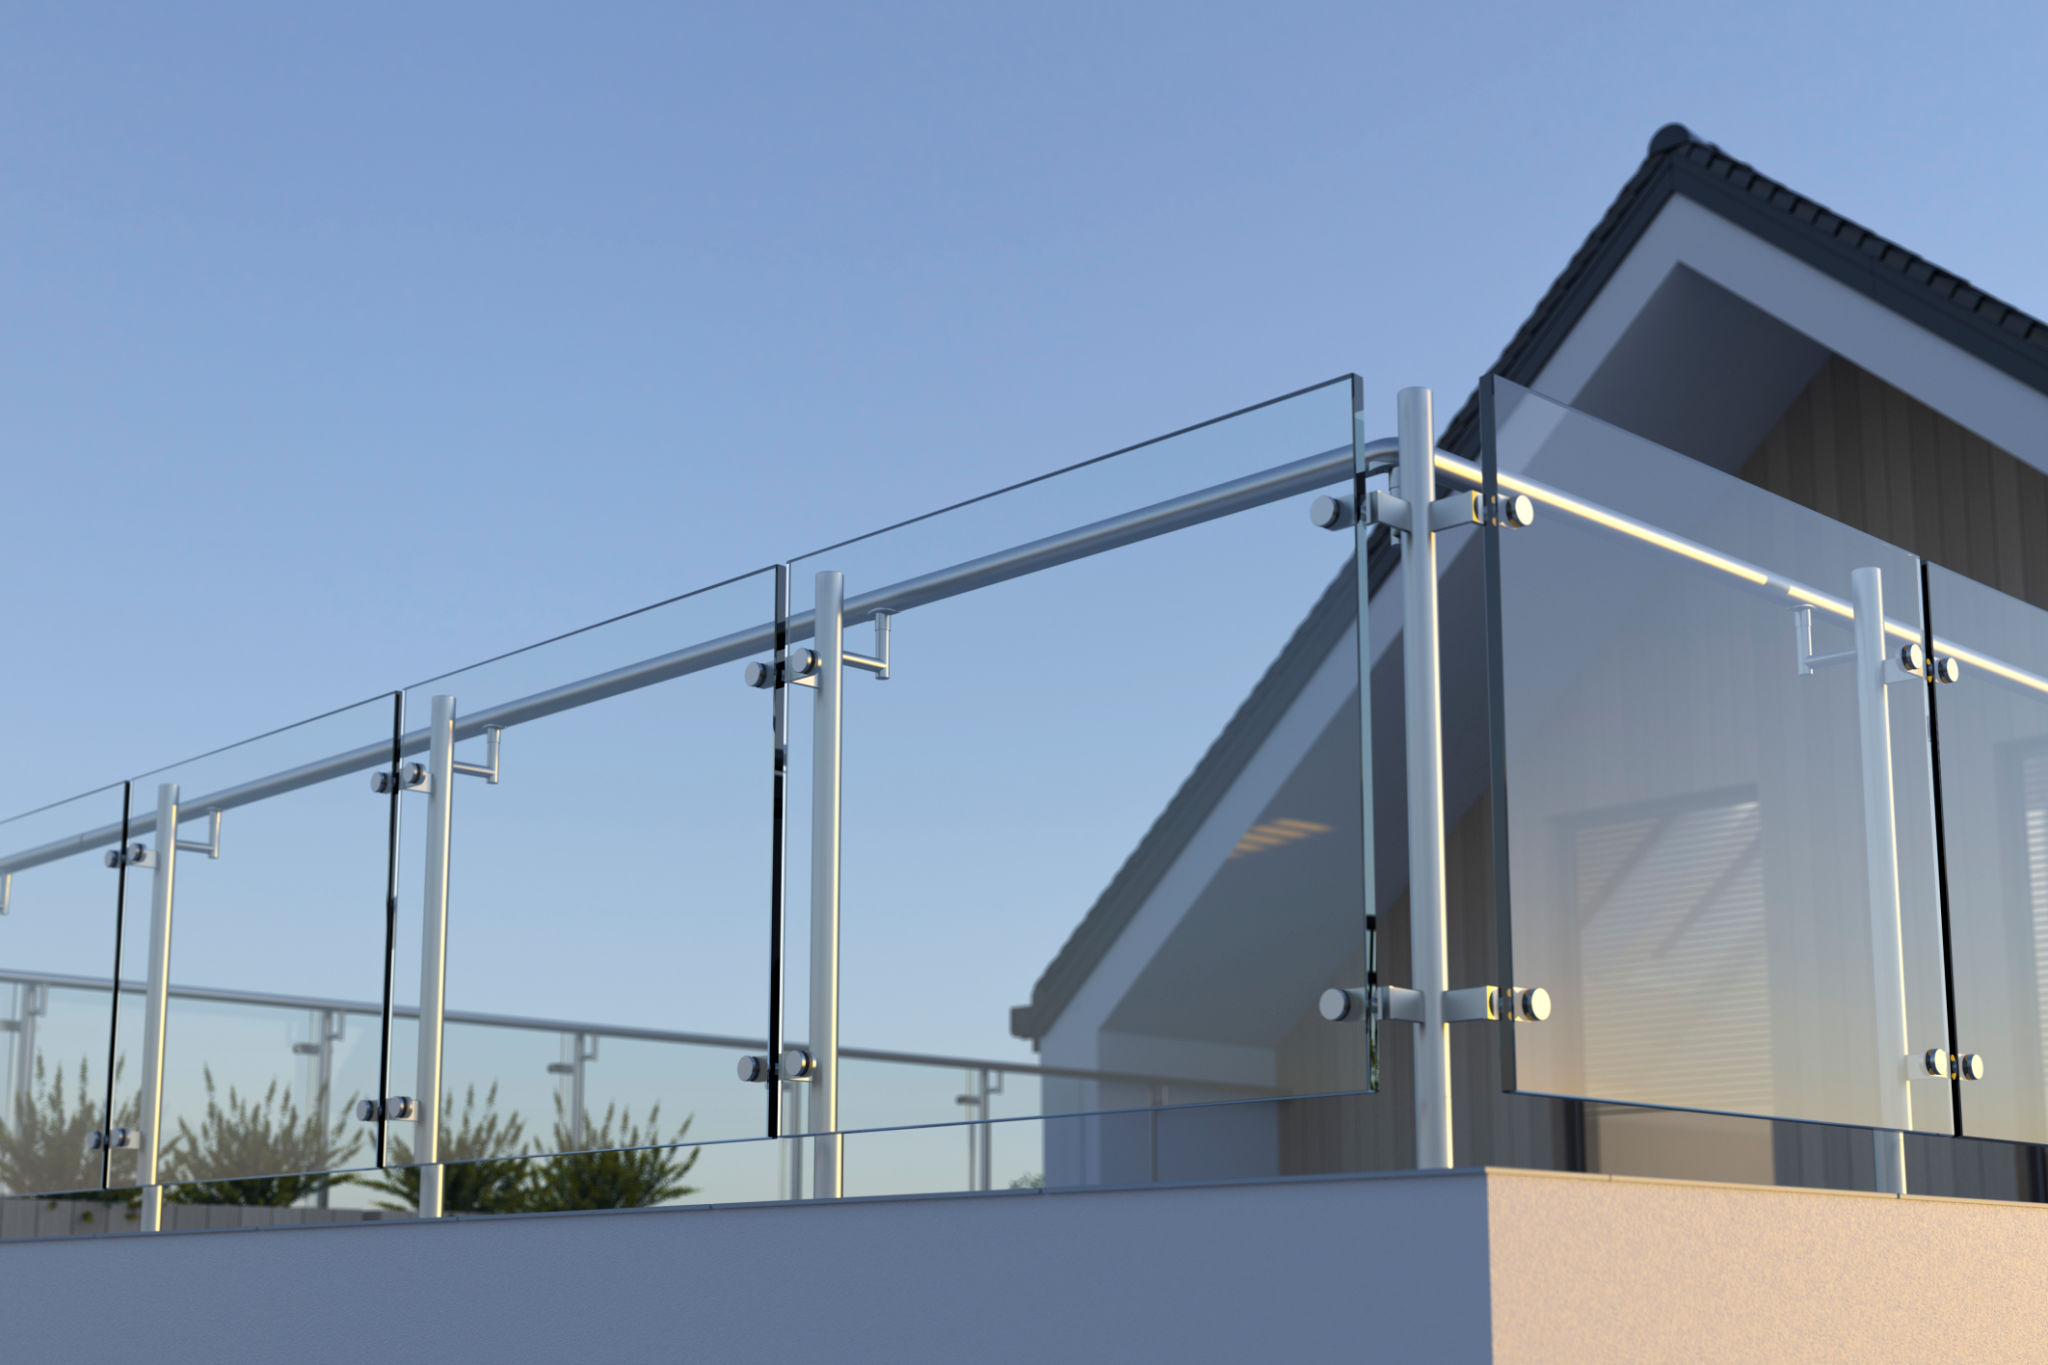
Installing a glass balcony can significantly enhance the aesthetic appeal and value of your home. These structures offer a modern, sleek look and can dramatically improve views from your living space. However, before embarking on this DIY project, it's crucial to understand the fundamentals of glass balcony installation. This includes selecting the right materials, understanding local building codes, and ensuring safety throughout the process.
Glass balconies consist of various components, including the glass panels, balustrades, and support structures. It's important to select high-quality, tempered glass that is designed to withstand weather conditions and provide safety.
Materials and Tools Required
To successfully install a glass balcony, you will need the following materials and tools:
- Tempered glass panels
- Balustrades and handrails
- Concrete anchors or metal brackets
- Drill and drill bits
- Level and measuring tape
- Safety gear (gloves, goggles, etc.)
Having the right tools on hand is paramount to ensure a smooth installation process. Moreover, double-check the measurements before purchasing materials to avoid unnecessary delays.
Planning and Preparation
Proper planning is key to the successful installation of a glass balcony. Begin by designing your balcony layout, considering factors such as size, shape, and the type of glass you want to use. It's also essential to check with local authorities regarding building permits and regulations specific to your area.

Once you have all necessary approvals, prepare the installation site by clearing debris and ensuring that the structure where the glass balcony will be attached is sturdy and level. A solid foundation is critical for the longevity and safety of your balcony.
Installation Steps
The installation of a glass balcony involves several steps:
- Marking and Drilling: Use a level to mark where the balustrades will be installed. Carefully drill holes for the anchors or brackets.
- Securing Balustrades: Attach the balustrades or support posts securely using concrete anchors or metal brackets.
- Installing Glass Panels: Carefully lift and place each glass panel between the balustrades, ensuring they are securely fitted.
- Adding Handrails: Install handrails on top of the glass panels to provide additional support and safety.

Ensuring Safety
Safety is paramount when installing a glass balcony. Always wear protective gear, such as gloves and goggles, during the installation process. Additionally, never attempt to lift heavy glass panels alone; enlist help or use lifting equipment if necessary.
After installation, regularly inspect your balcony for any signs of wear or damage. This will help prevent accidents and prolong the life of your glass structure.
Maintenance Tips
Maintaining your glass balcony ensures it remains safe and visually appealing. Clean the glass panels regularly with a non-abrasive cleaner to remove dirt and grime. Check for any loose fittings or corrosion on metal components and tighten or replace them as needed.

By following these DIY tips, you can successfully install a beautiful glass balcony that enhances your home's exterior while providing a safe and durable outdoor space.